
Practical guidance for life at home
Planning a Wheelchair Ramp That Feels Like Part of the Home
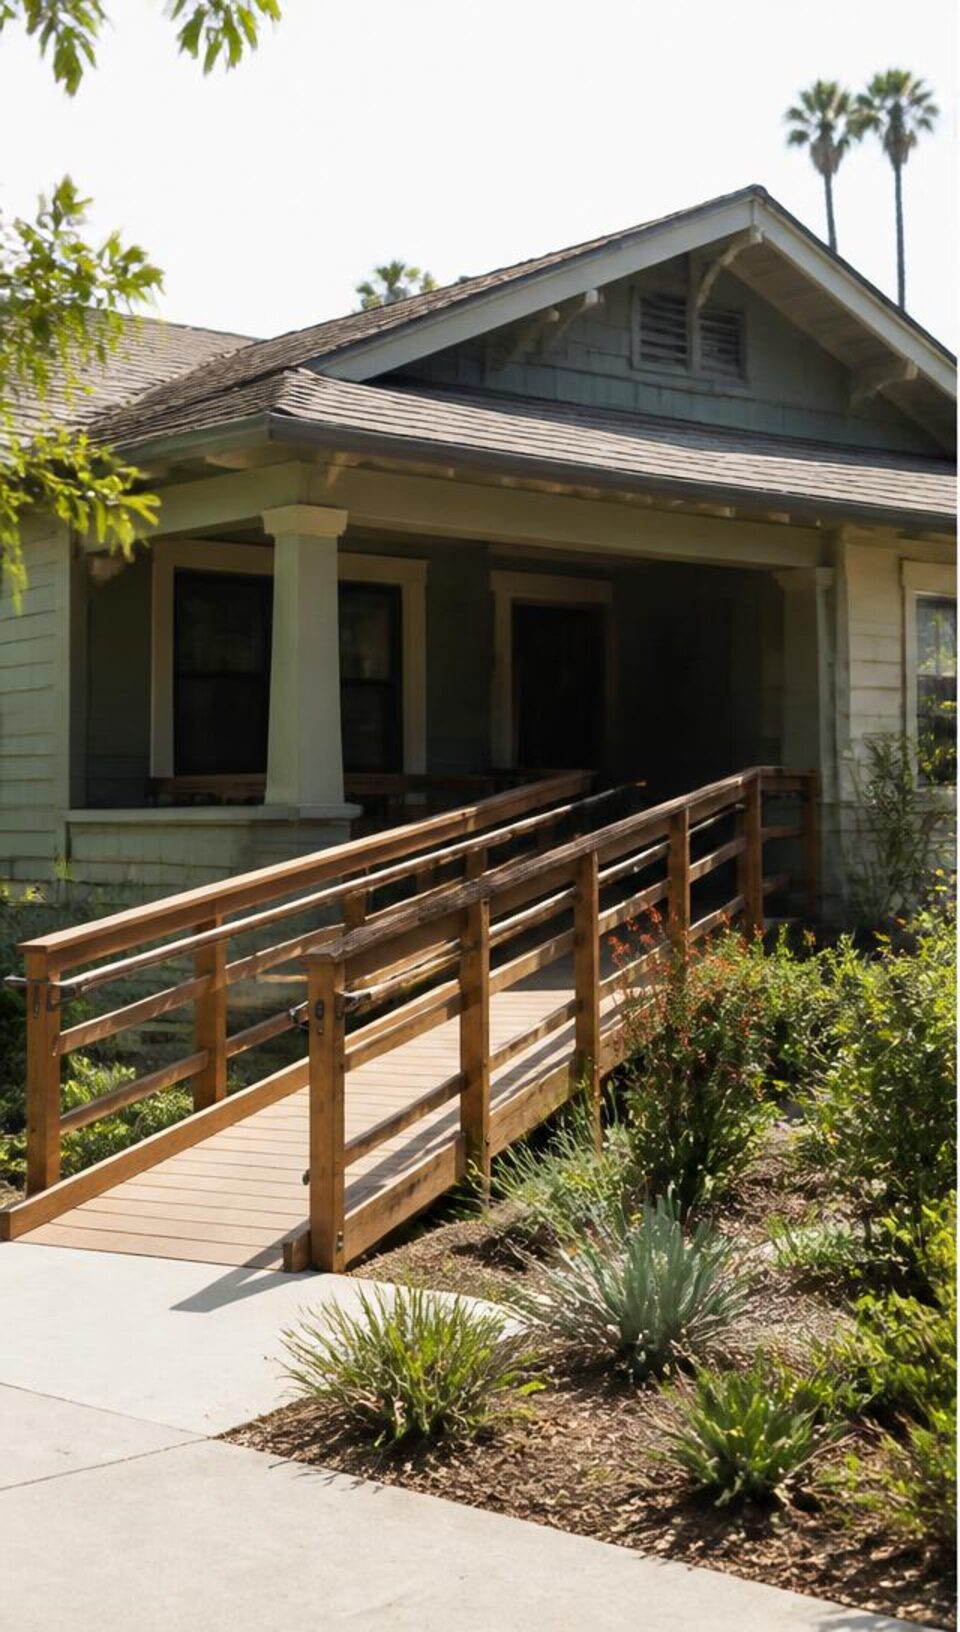
A ramp can look simple on paper: connect the ground to the door with a sloped surface. In real life, the height of the porch quickly creates more length than most families expect. The route also needs safe landings, useful handrails, room to turn, good drainage, and a way to open the door without rolling backward.
Start with the entire arrival experience
Think about where the person gets out of a vehicle, how they reach the ramp, and what happens at the top. The surface should connect to a stable walkway, not end in gravel or grass. At the door, the landing must be large and level enough to stop, reach the hardware, and move past the swinging door.
Slope is central to usability. ADA standards commonly use a maximum 1:12 slope in covered settings, meaning one foot of run for each inch of rise. Private homes must follow applicable local requirements, and a gentler slope may be easier for independent use. Exact dimensions, landings, and rails should be confirmed for the property.
Material changes the look and upkeep
Aluminum modular systems can be installed relatively quickly and may be reconfigured later. They are practical when timing matters or a permanent foundation is undesirable. Their appearance is more utilitarian, although careful placement and landscaping can soften it.
Wood and composite ramps can blend with a porch or deck. Wood needs ongoing attention to moisture, splinters, fasteners, and finish. Concrete is durable and can integrate beautifully with a walkway, but site preparation, drainage, reinforcement, and curing make it a more involved project.
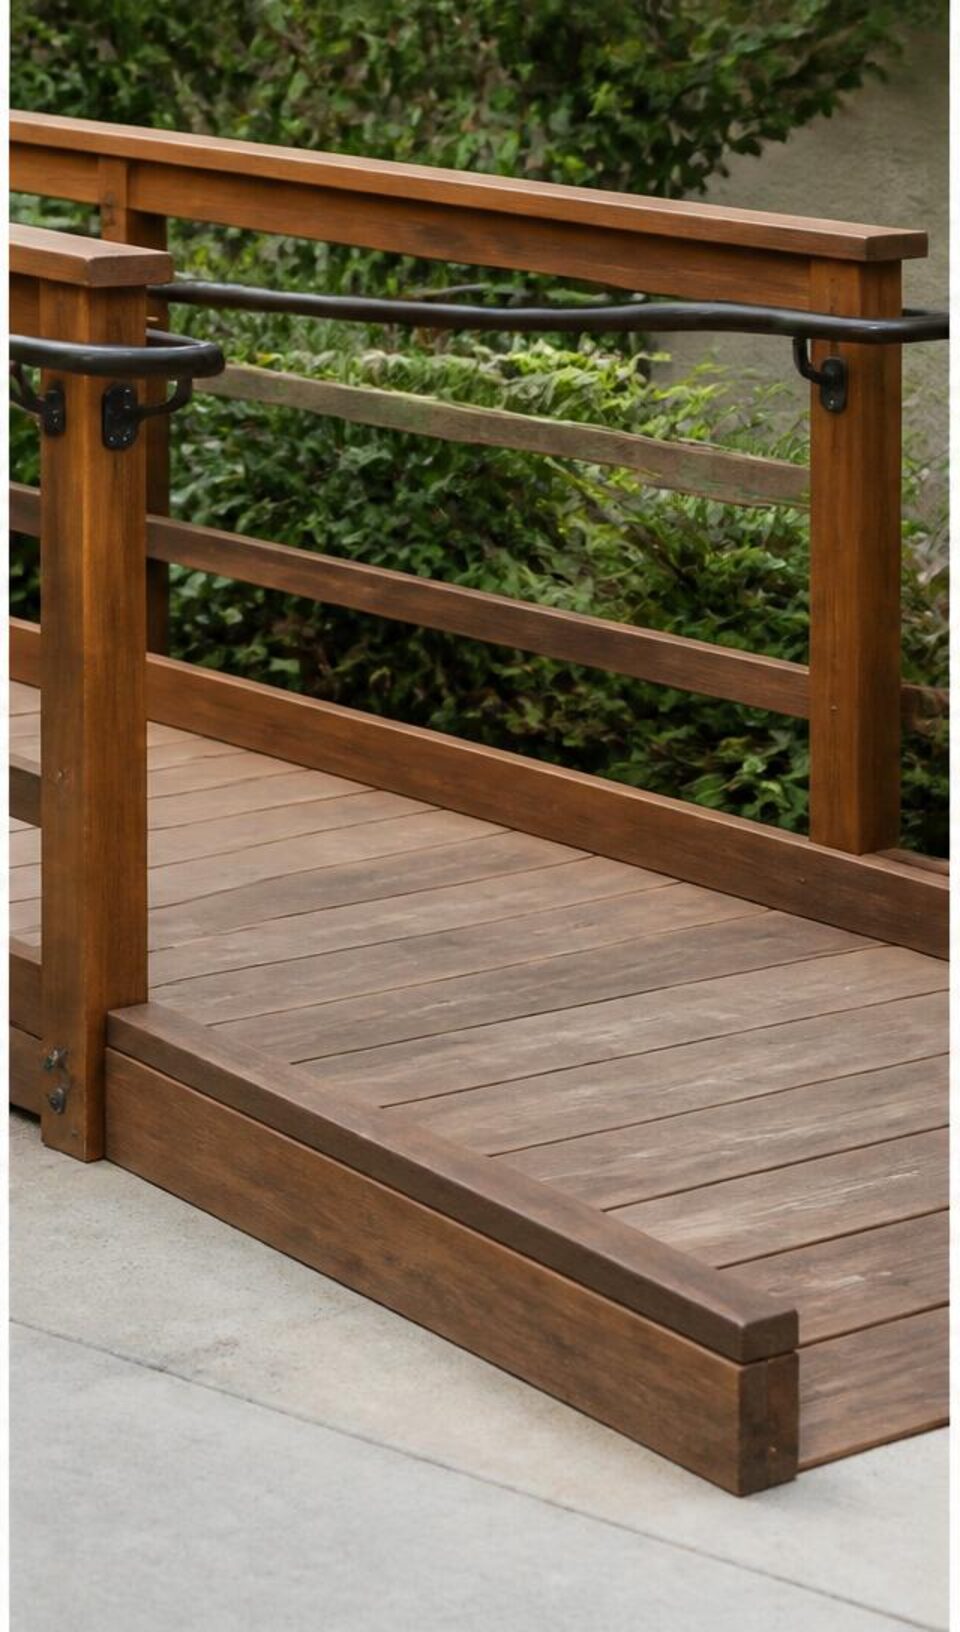
Landings and handrails do the quiet work
A level landing gives the user a place to rest, turn, and operate a door. It also breaks up a long route. Edge protection helps keep wheels and mobility aids on the surface, while graspable rails can support both wheelchair users and people who walk.
Outdoor conditions matter. Water should drain away instead of collecting on the ramp, and nearby plants should not narrow the route. In a hillside neighborhood or tight Los Angeles lot, a switchback layout may preserve the driveway or front garden better than a single long run.
Portable is not the same as permanent
A small threshold ramp can bridge a minor lip at a doorway. A portable ramp may help with a temporary, low rise when it is correctly rated and secured. Neither should be stretched into a job it was not designed to do. A short ramp over a tall rise can be frightening or impossible to use.
Total cost follows length, landings, turns, foundations, materials, rails, site access, and permits. Ask for a complete installed scope and confirm who handles approvals. A well-designed ramp should feel steady, understandable, and connected to the home rather than added as an afterthought.

Keep exploring with our ADA compliance guide or our home assessment guide.
Find a route that fits your property
We can measure the rise, doorway, available space, and approach, then explain permanent and modular options for your Los Angeles-area home.